How it Works: Creating a Roadmap
To create a roadmap, define the parameters such as space, epics, teams and prioritization. The better the parameters are defined, the more accurate and reliable the generated schedule will be. Let’s go over the necessary steps to create a schedule.
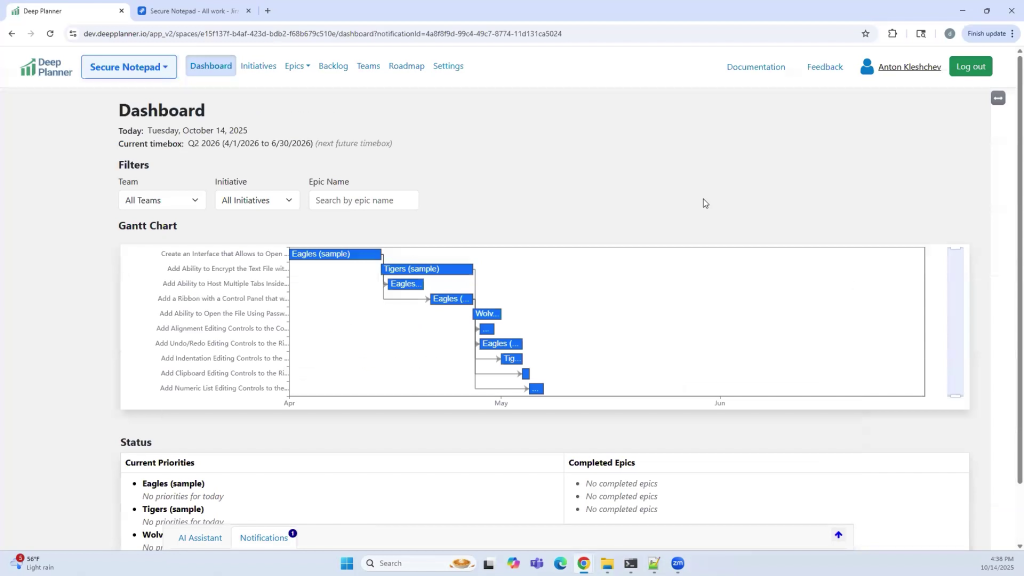
Use steps below to create a roadmap like this:
1. Create or Import Epics
Epics define the features that need to be implemented.
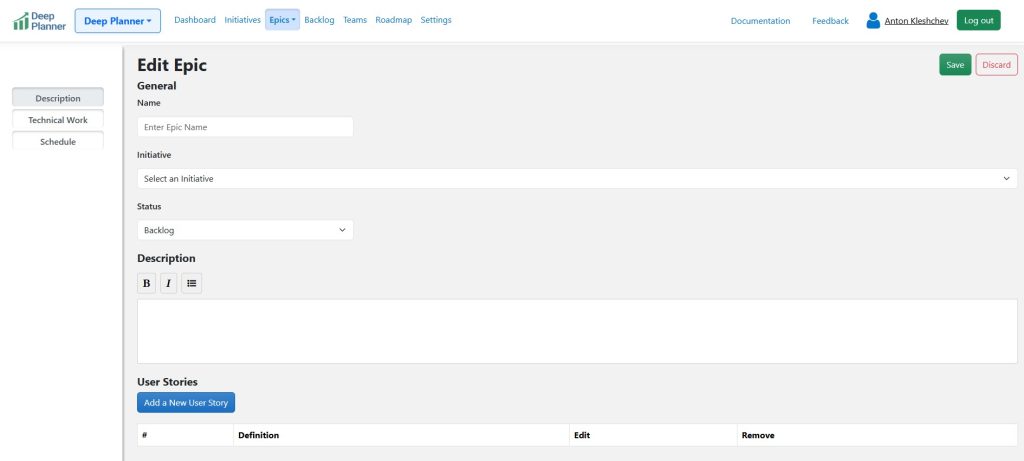
To add a new epic, click “Create new” in the Epics menu.
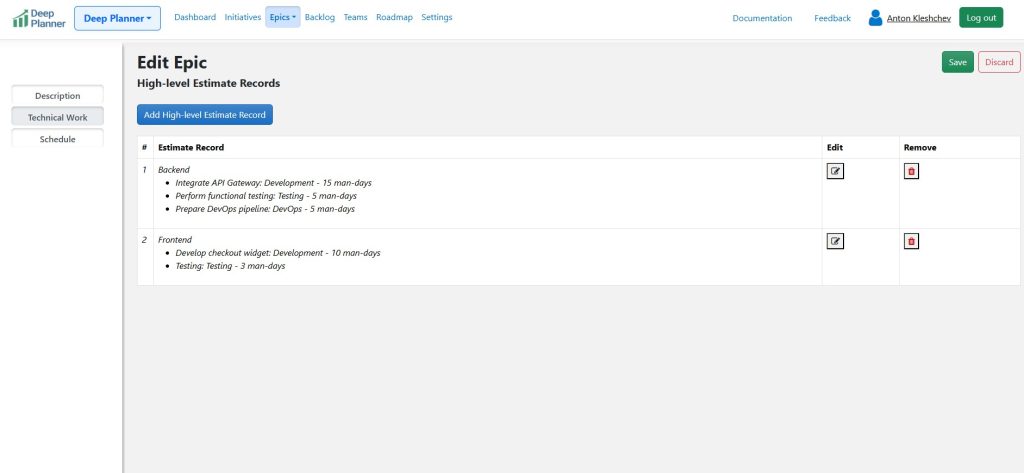
For every epic, specify a name, description, and high-level estimate. It represents the technical work that must be completed to fulfill epic requirements.
To import epics from JIRA, click “Import/Export” in the Epics menu and follow the prompts.

2. Define Epics Estimates and Dependencies
For required work list all items, their types and estimates in the “Technical Work” section of epics.
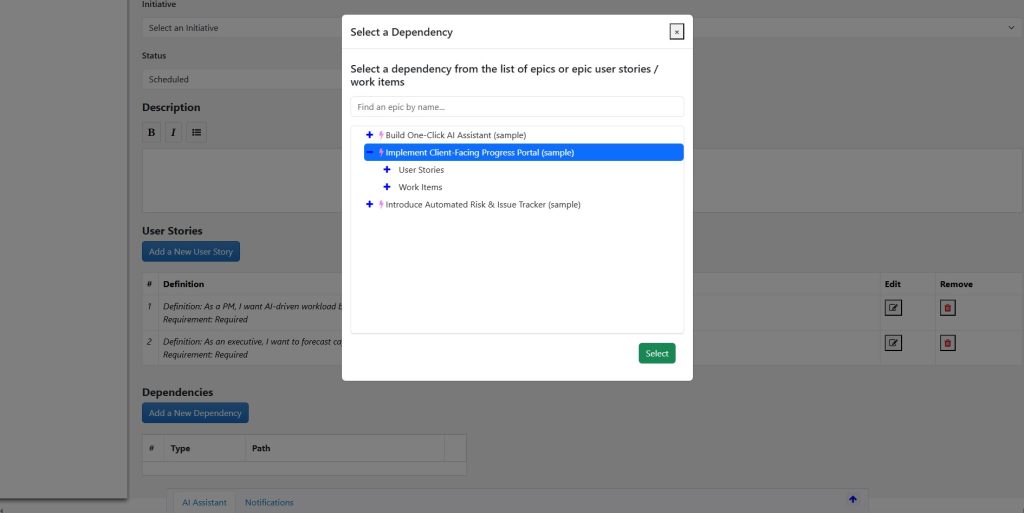
To define dependencies, use the “Dependencies” section in the epic Description tab.
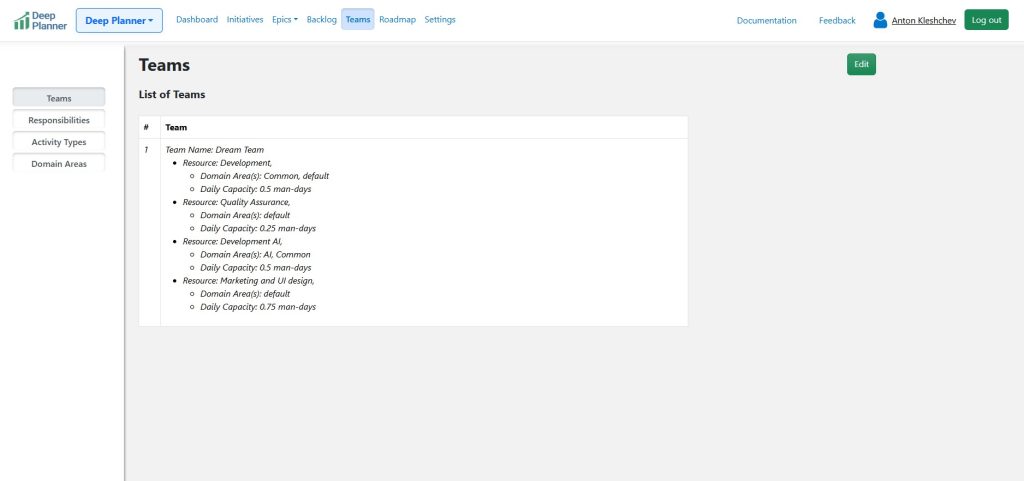
3. Define Teams
Defining teams right is one of the most important actions in automated planning. To achieve this, go to the “Teams” page and click “Edit.” Click “Add a new Team.” Specify name and click “Add a new Resource.” Add resources that will correspond to team members, their responsibilities, and their daily capacities. Think of responsibilities as team roles. For recommendations on that topic, refer to the article “How to Define Teams.”
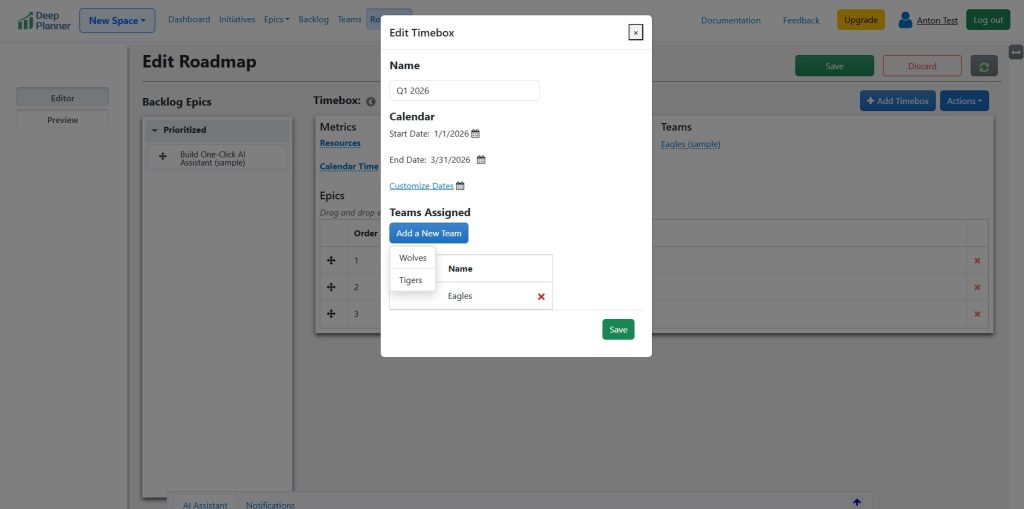
4. Assign Teams and Add Epics to the Roadmap
To add a timebox, navigate to the Roadmap page and click Edit. Click “Add Timebox.” Enter start and end dates and the teams that will be available. Click “Save.”
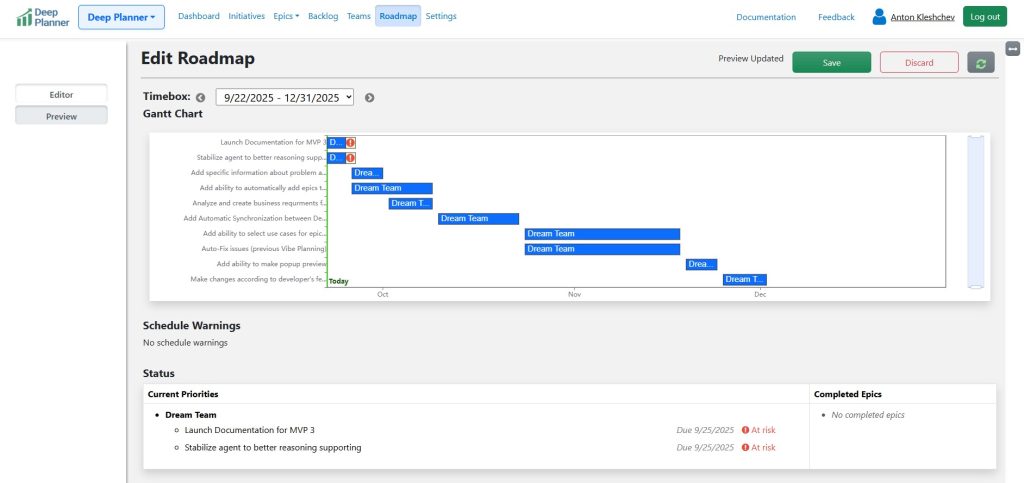
Drag and drop epics to the roadmap by the desired execution priority
Drag and drop epics from the “Backlog Epics” column to the “Epics” table inside of the timebox. Wait until the preview is generated. Click the “Preview” button. Oversee the generated schedule on a Gantt chart.

5. Preview and Publish the Roadmap Changes
Click “Save.” Preview the changes before publishing.
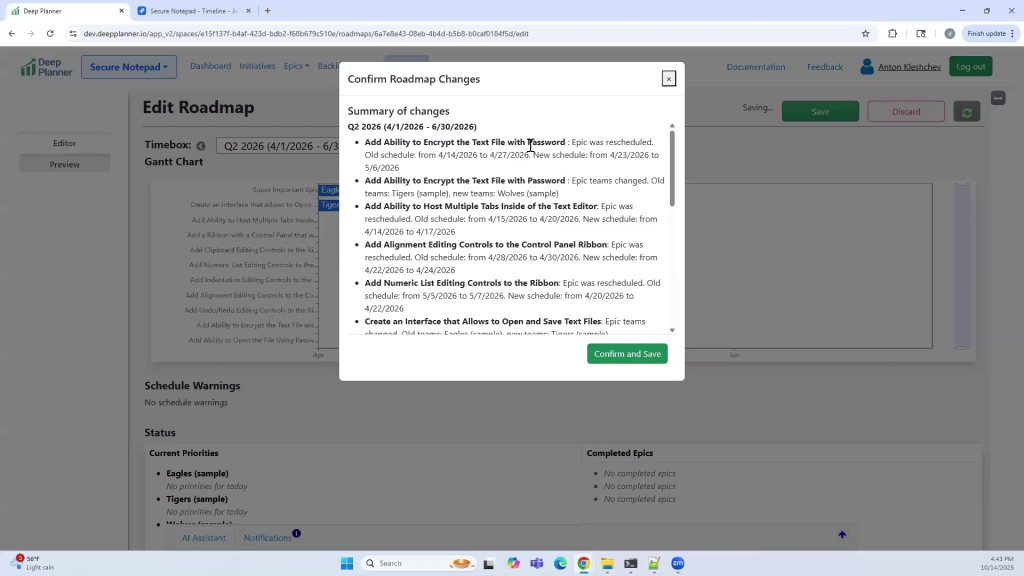
Click “Confirm and Save.” The changes are finally published!
Note: If epics are not present in the Gantt chart but items exist in the “Schedule warnings” table, refer to the page “Schedule Warnings” for guidance on solving the issue.
To publish the roadmap, click “Save and “Confirm and Save.”
That’s it! Your roadmap was successfully published.
Learn More
To learn more about the process such as fine tuning a roadmap, epic execution or making changes for items in progress refer to the article Working with a Roadmap Builder.
0 Comments